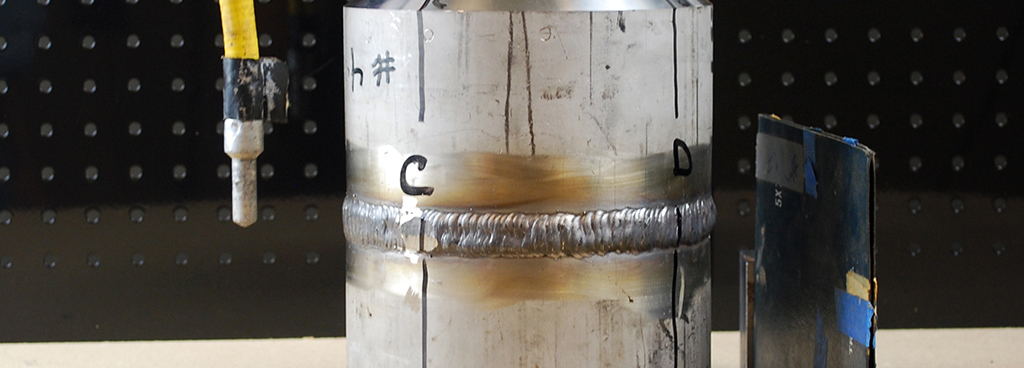
Radiographic testing (radiography) is used  to detect discontinuities such as porosity, cracks and inclusions in materials or welds. It is performed by placing film or a digital detector on one side of a weld and introducing a radiographic source (X-ray tube or a radioactive isotope) on the other side. Radiation from the source that is not absorbed by the weld passes through and exposes the film, leaving an image of the internal structure of the weld and any flaws once the film is developed. Cracks, porosity, and lack of fusion appear as dark indications on the film. Low density inclusions will also appear as dark areas, while high density inclusions will appear as light areas.
An advantage of this testing method is that it is a very accurate method for detecting porosity, inclusions, cracks, and voids in materials and welds. It also provides a permanent record of the quality of the weld. Since this is a volumetric testing method, sub-surface weld defects can be found with radiography.
A significant disadvantage of this method is the inherent safety considerations due to radiation. Although inspections can be performed safely following proper procedures, they are usually done at night or in a different location to limit radiation exposure to nearby workers. Other disadvantages of the method are that it generally requires access to both sides of the area to be examined, and that some weld joints such as corner joints cannot be tested due to their geometry. Radiography is also a relatively slow and expensive method.
With specialized equipment, it is even possible to radiograph tube-to-tubesheet welds. This technique is sometimes used on the most critical welded tube end joints. Ward has one of the lowest rejection rates in the world on tube end welds tested with radiography!
Please call us if you have any questions on radiography or any other forms of non-destructive testing.


